This blog explains how brass inserts are used in 3D printed parts to create strong and reliable threads. It focuses on where threads formed directly in plastic fail and how a metal insert improves thread life during repeated assembly.
3D printed parts are widely used in prototypes and functional components. In these parts, screws must hold after repeated tightening. Threads formed directly in plastic lose strength quickly because the material deforms easily. This damage usually starts at the first thread where the load is highest. The screw may still turn, but the joint begins to lose strength over time.
A brass insert adds a durable metal thread inside the printed part. This helps maintain clamping force and reduces thread wear during service. The same principle is used in brass inserts for plastic injection molding, where strong and repeatable threads are required.
This guide covers insert types, hole design, and correct installation methods used in 3D printed parts.
What Are Brass Inserts for 3D Printing?
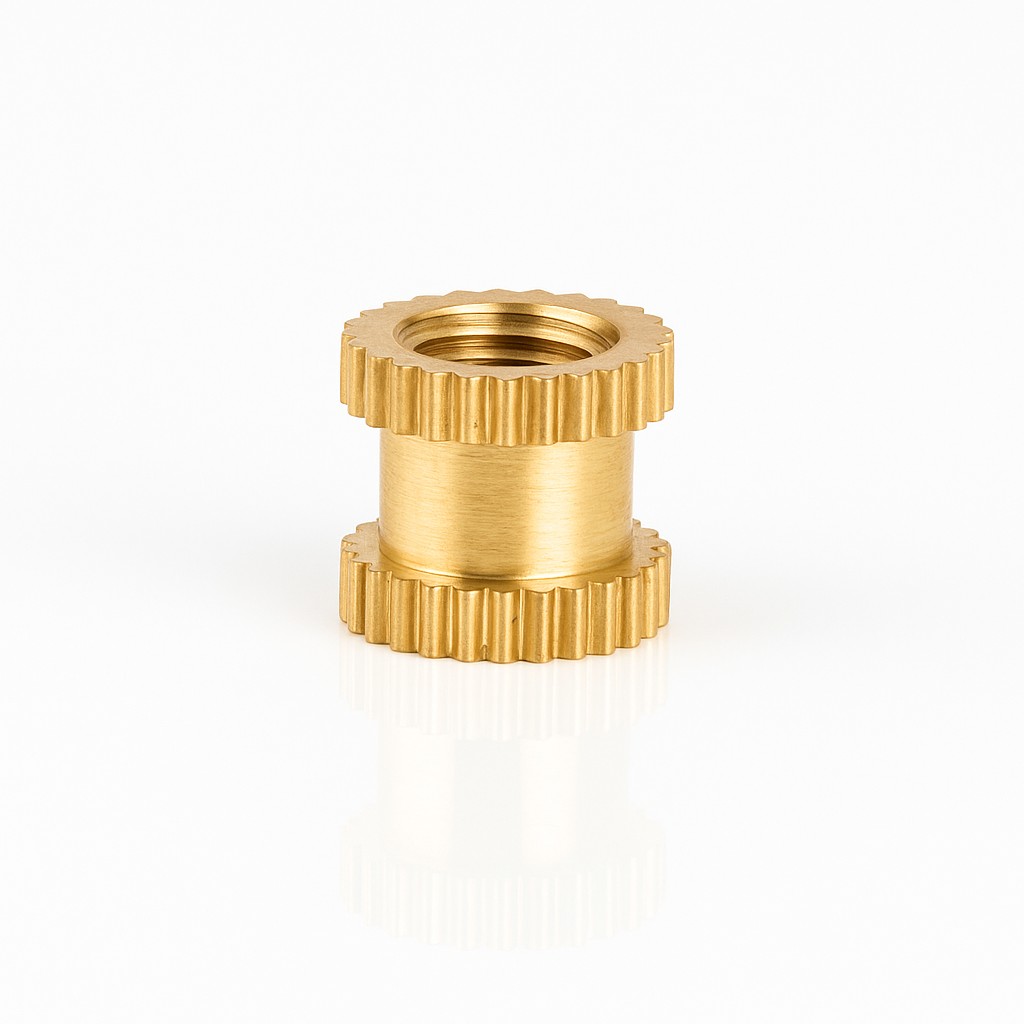
Brass inserts for 3D printing are small threaded cylindrical fasteners used to assemble and disassemble components in plastic parts such as PLA, ABS, PETG, and Nylon. Brass inserts are installed into the plastic so that screws can engage with a metal thread instead of plastic.
In heat-set inserts, the surrounding plastic softens and flows into the insert’s knurled exterior, which creates a strong mechanical lock. This allows repeated fastening without damaging the plastic part and improves reusability.
Why Use Threaded Inserts Instead of Printed Threads?
In this section, we explain why brass threaded inserts are needed in 3D parts and why we cannot depend on threads formed directly in plastic
Threaded inserts are preferred because they provide better strength, durability, and reusability. Plastic threads wear quickly under repeated tightening and cannot handle higher clamping force.
Brass inserts prevent stripping of plastic threads and allow repeated assembly without damaging the part. This is important in parts that are opened and tightened many times.
Without inserts, threads formed directly in plastic have low wear resistance, lower pull-out strength, and are difficult to print with good accuracy. Brass inserts solve most of these problems and improve overall joint reliability.
Types of Brass Inserts Used in 3D Printing
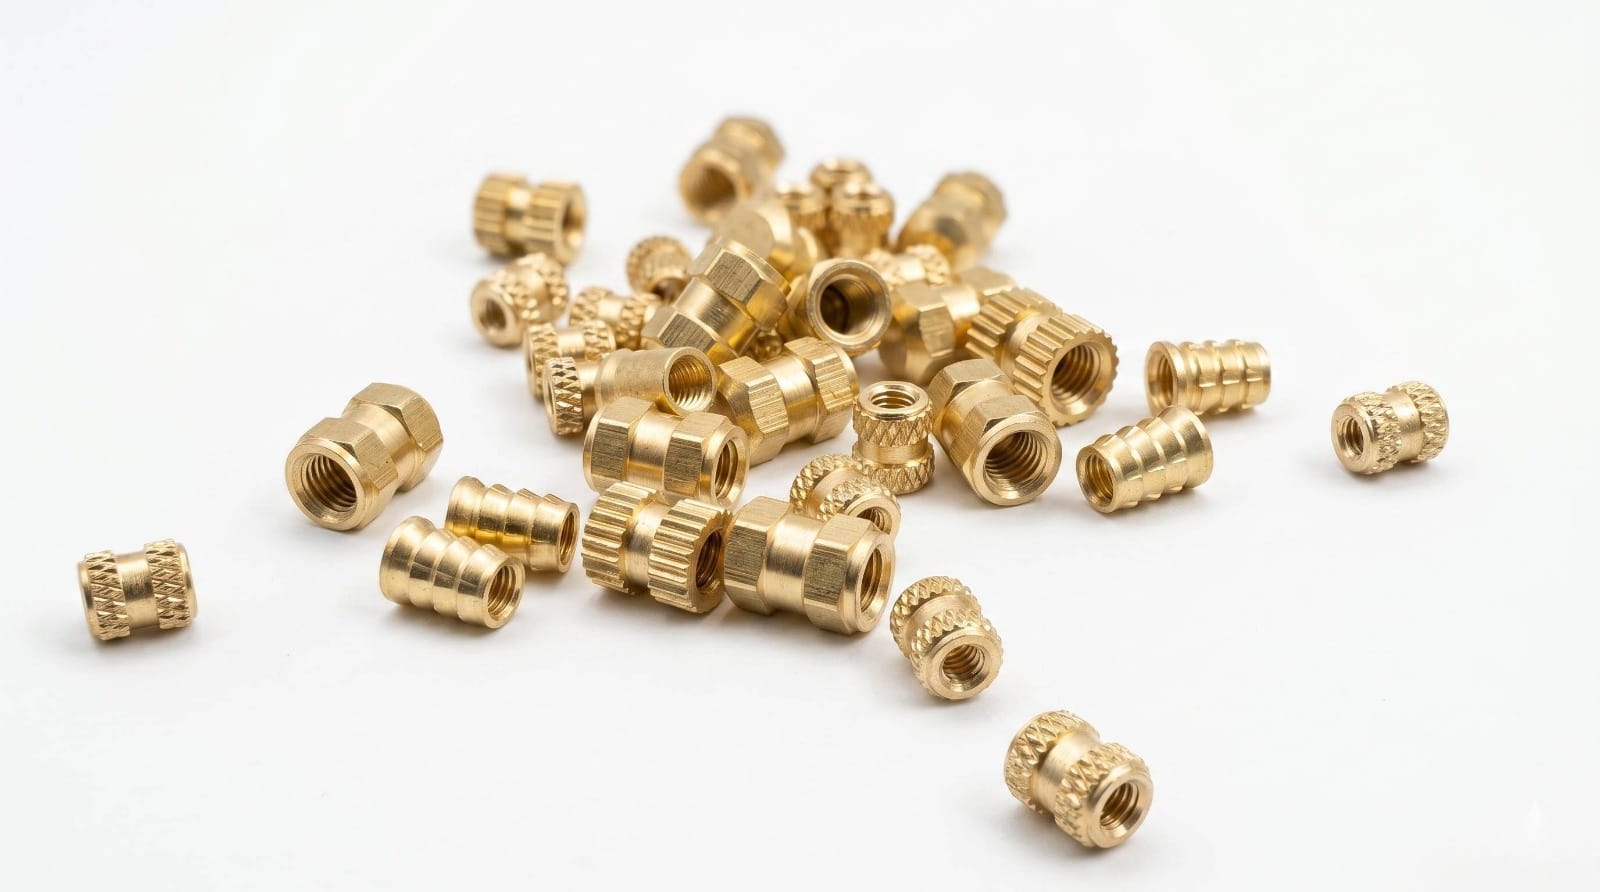
Brass inserts used in 3D printing mainly include heat-set inserts installed using heat and press-fit inserts installed by pressing into the hole.
Brass Insert Types for 3D Printing
1. Heat-Set Insert
Most common type. It has a knurled outer surface. The knurling insert is placed into the hole and heated. The surrounding plastic softens and flows into the knurling, which creates a strong mechanical lock.
2. Press-Fit Brass Insert
Press-fit inserts do not require heat. These are installed by pressing directly into a pre-printed hole. Fit depends on hole tolerance. If the hole is too tight, the part may crack. If too loose, the insert may not hold properly.
Hole Size & Design Guidelines for Brass Inserts
- Hole Diameter: For heat-set inserts, the hole is usually slightly smaller than insert outer diameter. Exact value depends on insert design and plastic type.
- Wall Thickness: Around 1.5 mm or more is commonly used to avoid cracking and maintain strength.
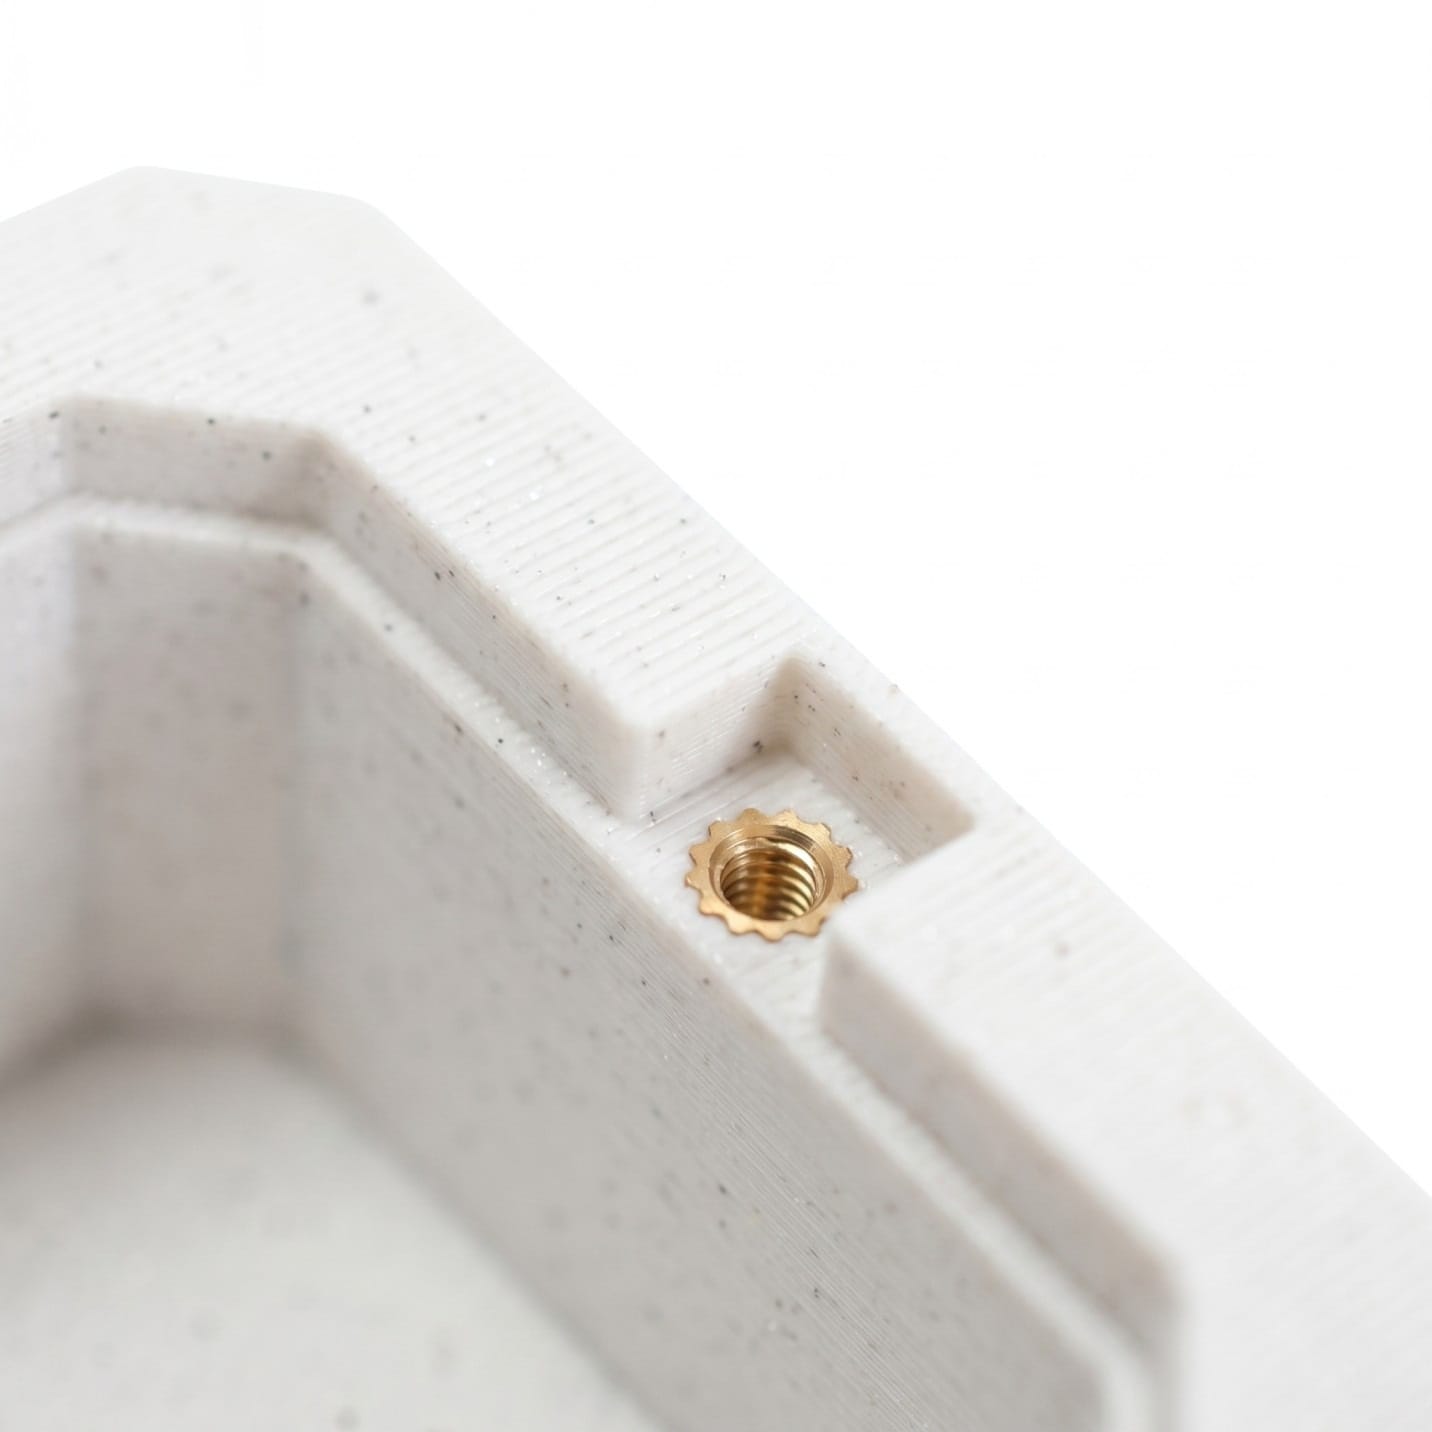
- Placement: Insert should sit flush or slightly below surface for proper mating.
How to Install Brass Inserts in 3D Printed Parts

1. Heat-Set Insert
Most common type. It has a knurled outer surface. The knurling insert is placed into the hole and heated. The surrounding plastic softens and flows into the knurling, which creates a strong mechanical lock.2. Press-Fit Brass Insert
Press-fit inserts do not require heat. These are installed by pressing directly into a pre-printed hole. Fit depends on hole tolerance. If the hole is too tight, the part may crack. If too loose, the insert may not hold properly.Hole Size & Design Guidelines for Brass Inserts
- Hole Diameter: For heat-set inserts, the hole is usually slightly smaller than insert outer diameter. Exact value depends on insert design and plastic type.
- Wall Thickness: Around 1.5 mm or more is commonly used to avoid cracking and maintain strength.
- Placement: Insert should sit flush or slightly below surface for proper mating.
How to Install Brass Inserts in 3D Printed Parts
This section explains how to install brass inserts and the tools required.
Tools Required for Installation
1. Brass threaded inserts (M3, M4, M5 as required)
2. Soldering iron with insert tip for heat-set installation
3. Tweezers for handling hot inserts (optional)
4. Small pliers for holding parts
Step-by-Step Guide for Heat-Set Installation
1. Prepare the hole
Ensure the hole in the 3D design is slightly smaller than the insert outer diameter. Exact size depends on insert design and plastic type.
2. Heat the soldering iron.
Soldering iron is used to heat the insert so it can go into plastic. Temperature control is important. Too much heat can damage the part. Low temperature will not allow proper insertion Set the temperature based on the plastic material.
3. Position the insert
Place the insert straight over the hole. Keep it aligned before applying heat.
4. Press the insert
Place the soldering iron tip into the insert. Apply light and steady pressure. The plastic will soften and the insert will move into position.
5. Set correct depth
Push the insert until it sits flush or slightly below the surface.
6. Remove heat and cool
Remove the iron and allow the plastic to cool. The material will harden and lock the insert in place.
Design Guidelines for Brass Inserts
- Alignment: Keep the insert vertical during installation
- Test fit: Try different hole sizes before final part
- Slow insertion: Helps avoid excess melting
- Avoid overheating: Excess heat weakens the plastic
- Resin parts: Use adhesive since they do not melt
FAQs About 3D Printing Threaded Insert
1. Why does the insert spin inside the plastic after installation?
This usually happens when the hole is too large, the insert does not grip the knurl properly, or the insert moves before the plastic cools. It can also happen if the insert is not sized well for the hole. Proper hole size, controlled heat, and no movement during cooling help prevent this.
2. What happens if the insert is installed at an angle?
Misalignment creates uneven load on the screw and the surrounding plastic. That can reduce joint life and damage the part during tightening. The insert should stay straight during installation.
3. How much torque can a brass insert handle in 3D printed parts?
Torque depends on plastic type, insert size, wall thickness, and installation quality. PLA usually holds less than ABS and Nylon. A properly installed insert will hold more torque than printed threads, but over-tightening can still damage the surrounding plastic.
4. Do brass inserts work in resin or SLA printed parts?
Not in the same way as thermoplastics. Resin parts do not soften like PLA and ABS, so heat-set insertion is usually not the normal method. They often need a tighter fit, and some designs use adhesive for retention.
5. Can a brass insert be removed and reused?
Sometimes, but not always. Brass inserts are designed for repeated screw use, not for removal from the plastic. If the insert is removed, the plastic hole often deforms and loses grip. Reuse is only possible if both the insert and the hole remain undamaged.
6. Should I use heat-set or press-fit inserts for a functional part?
Heat-set inserts are usually the safer choice for most thermoplastic parts. Press-fit inserts depend more on hole accuracy and plastic behavior. They work best when the fit is controlled very well.
7. What thread sizes are most common for 3D printed parts?
M3 is very common. M4 and M5 are also used when the part needs more holding strength or a larger screw size. M2.5 and M6 can also appear in some designs.
Request a Quote
Brass inserts must match the plastic, hole size, and application. Wrong selection reduces holding strength and thread life.
We are a brass threaded insert manufacturer and produce OEM brass inserts based on customer drawings, knurl design, and required tolerances.
Send your drawing for RFQ. Request a Quote.